The production of a DIY cord lamp for your garden
Extraordinary lamp designs cost a lot of money. If you still want to get a very special luminaire, you can rely on your own project with the tools available. We will guide you through the making of a DIY rope lamp.
Materials:
Rubber ball of any size
String or rope
Decoupage – liquid
Knife or scissors
duct tape
marker
container
Round piece of cardboard
Household gloves
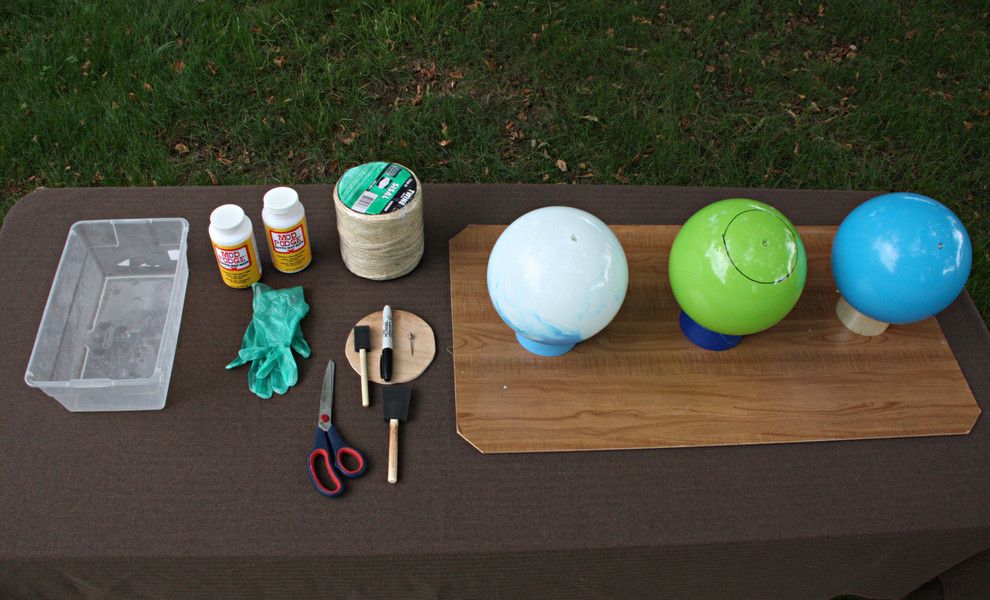
Design a storage table for the materials in the outdoor area
It is best to work outdoors to avoid any soiling.
Place the materials on the work table: rope, rubber ball, liquid, the gloves, the marker pen, the container and the round piece of cardboard. Place the sphere on tape for stability. Now draw a circle around the rubber ball’s hole.
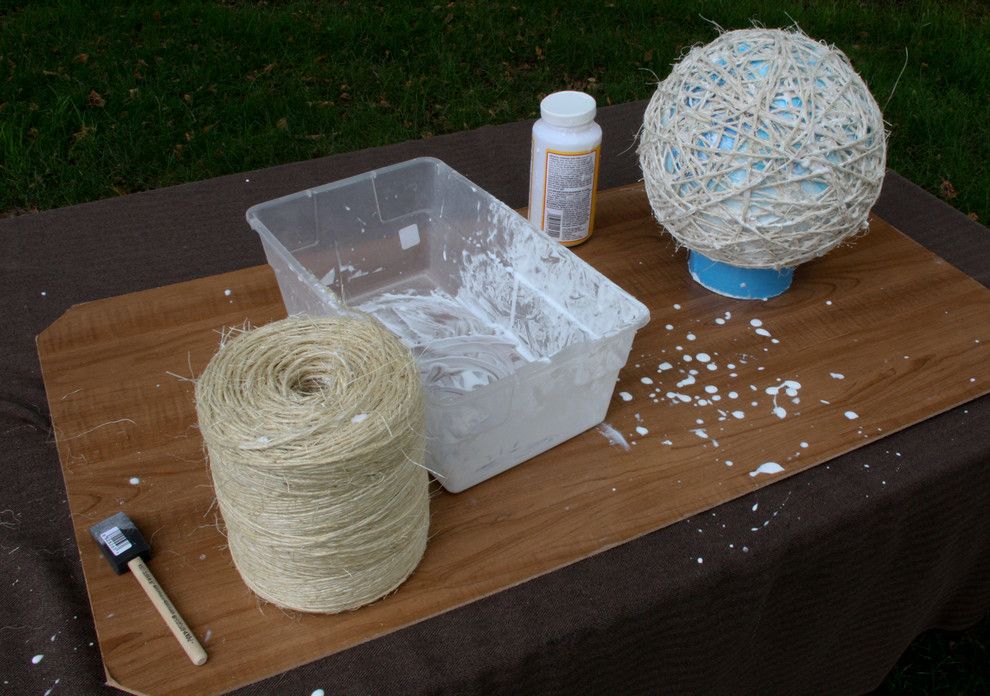
Color the rope – it can get dirty
It can get pretty messy, but you’d have to dip the rope in the container with the decoupage liquid. With the help of a brush you could distribute this. Now wrap the rope crosswise around the rubber ball. Leave about 10cm free around the drawn circle. After all, you should still be able to see the ball.
The colored rope now needs a few days to dry.
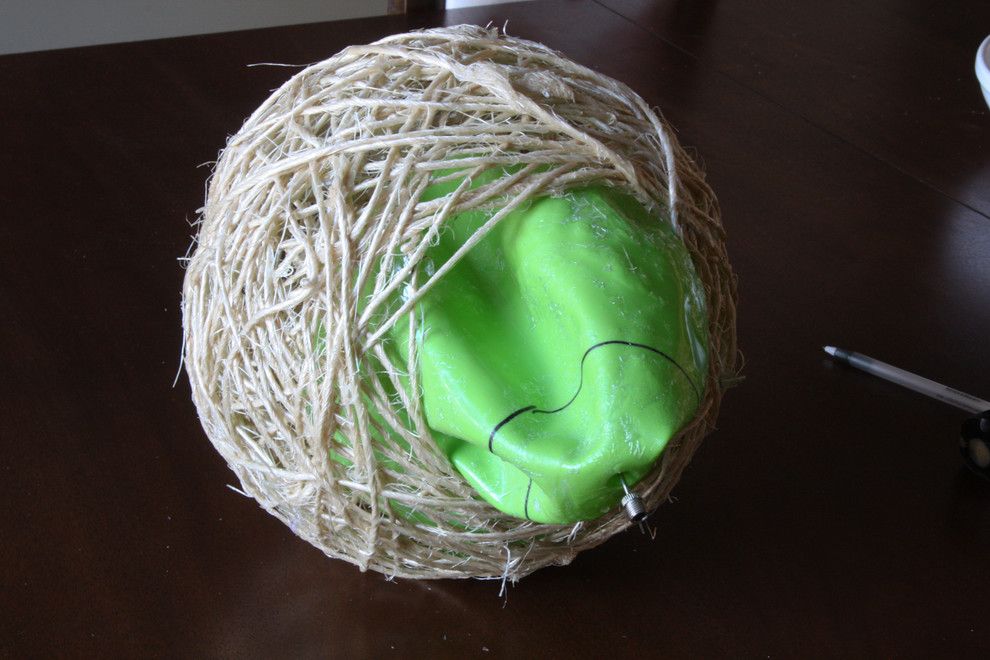
Let the air out of the rubber ball
When the rope is completely dry, deflate the ball. Now take it out through the empty space.
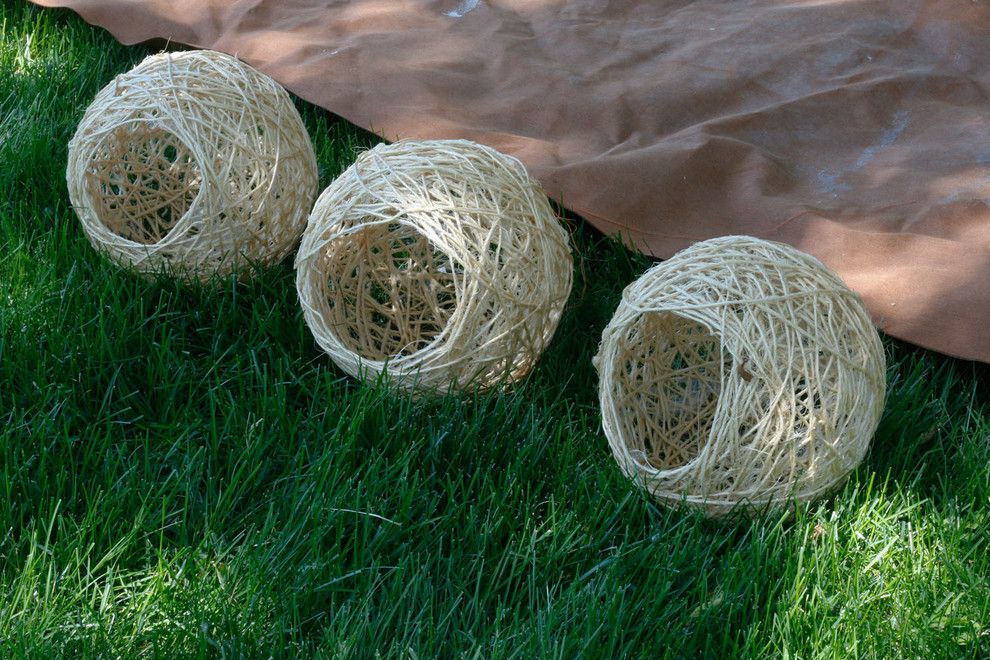
The finished ball lights
The rope balls thus have large openings that would later allow them to be positioned as floor lamps.
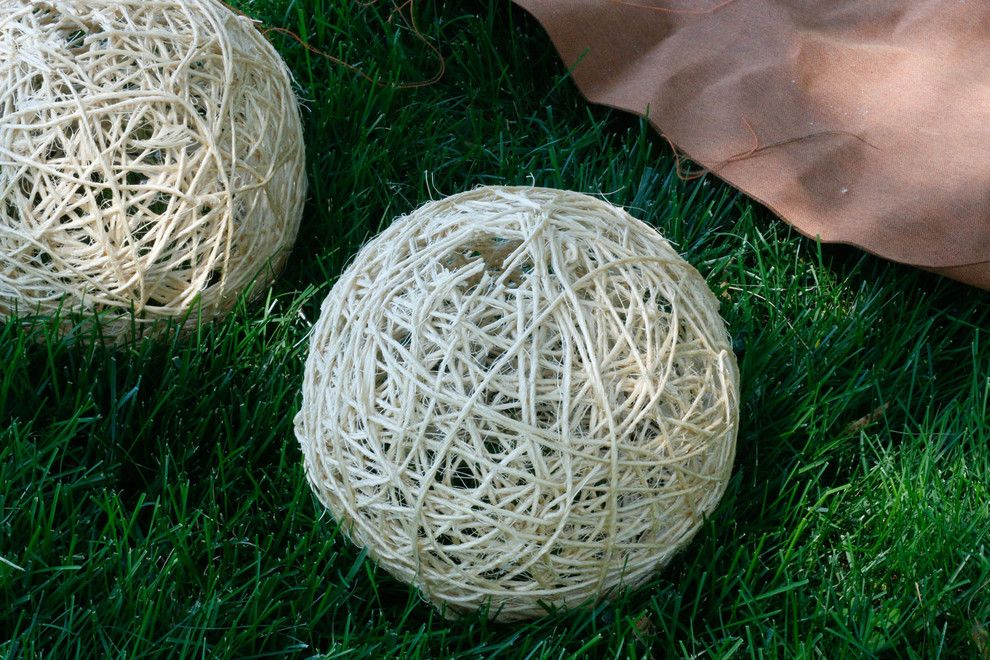
Cut out a small opening on top
Cut out a hole at the top of the ball. This means that the solar cells will be able to absorb enough sunlight during the day.
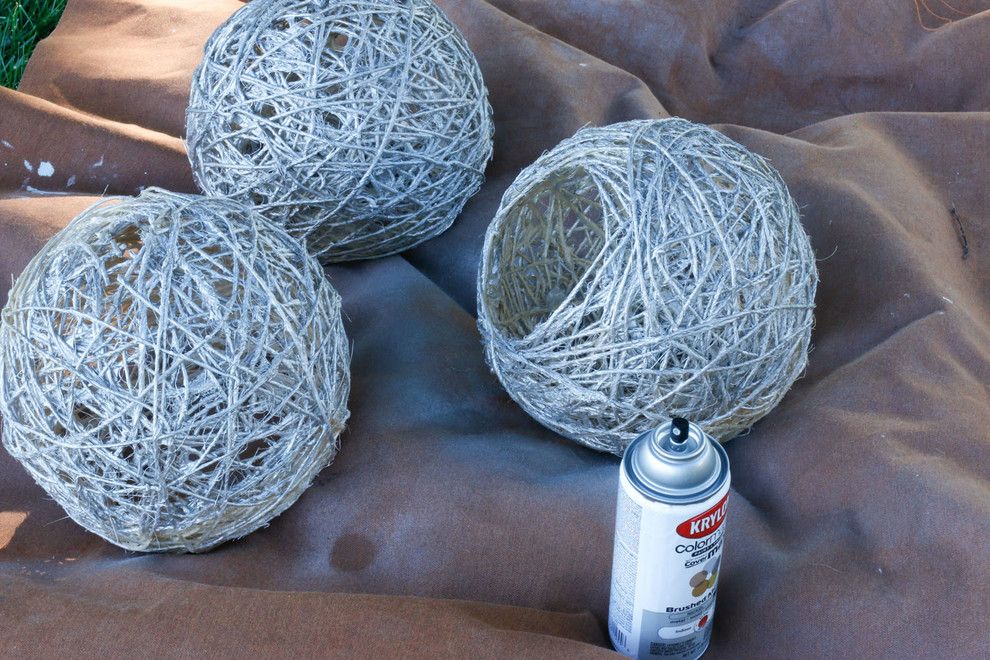
Use a spray with a metallic effect
Next, you can spray the balls with metallic spray specially designed for outdoor use.
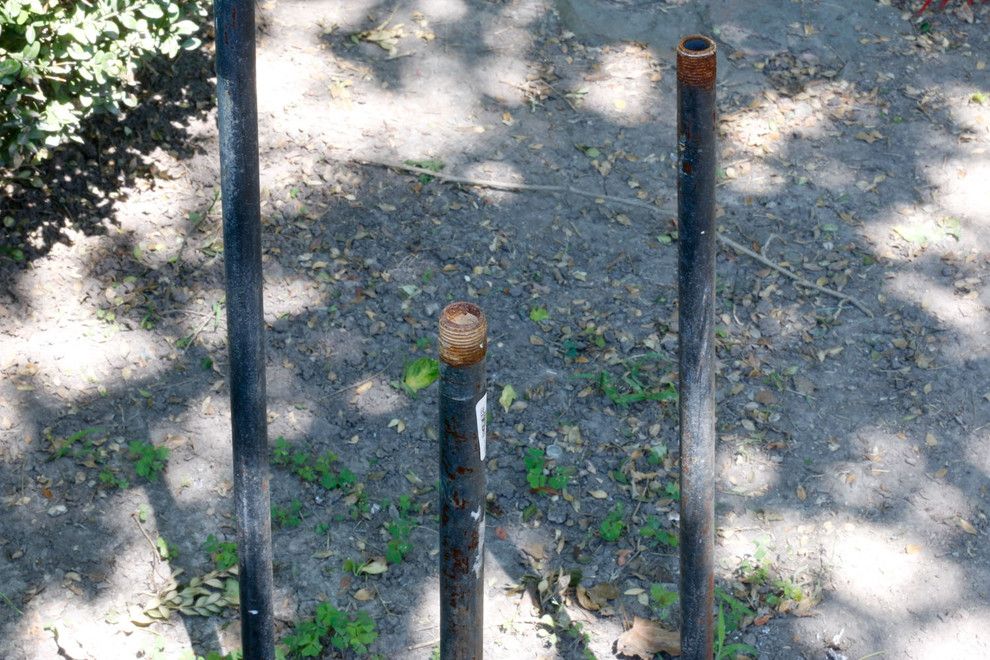
Get pipes for the floor lamps
Now you can sink any water pipe (2cm in average) with a threaded nipple into the ground.
In the photo, the water pipes are installed at different heights. The distance between them is about 10cm so that the balls don’t come too close to each other.
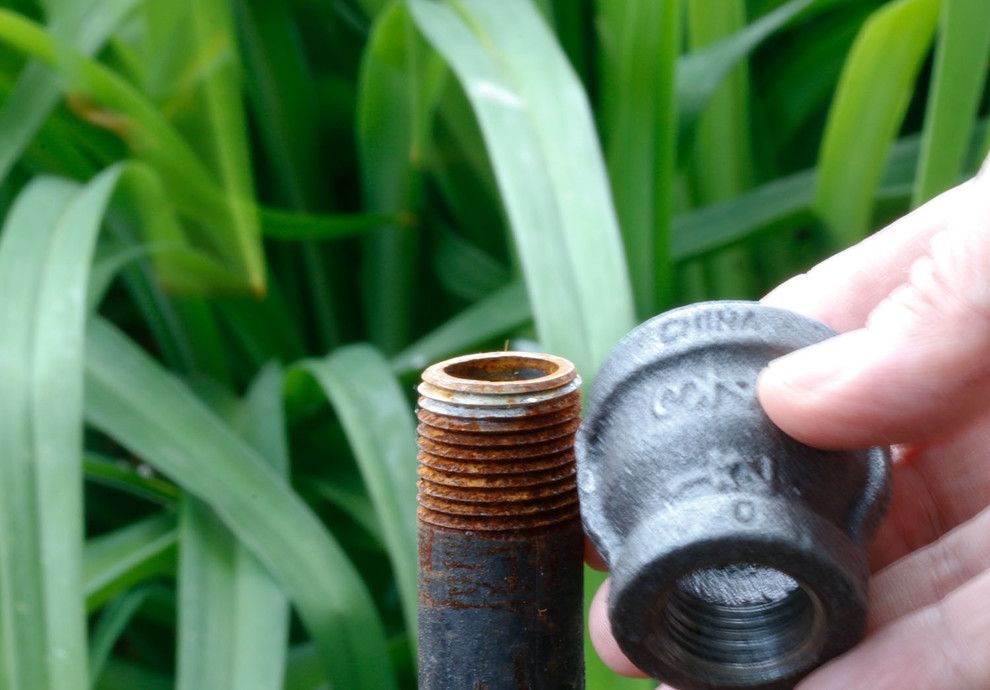
Fasten the sleeve for more stability
Attach a sleeve to the top of the pipe. This will ensure that the solar cells are placed in a stable manner.
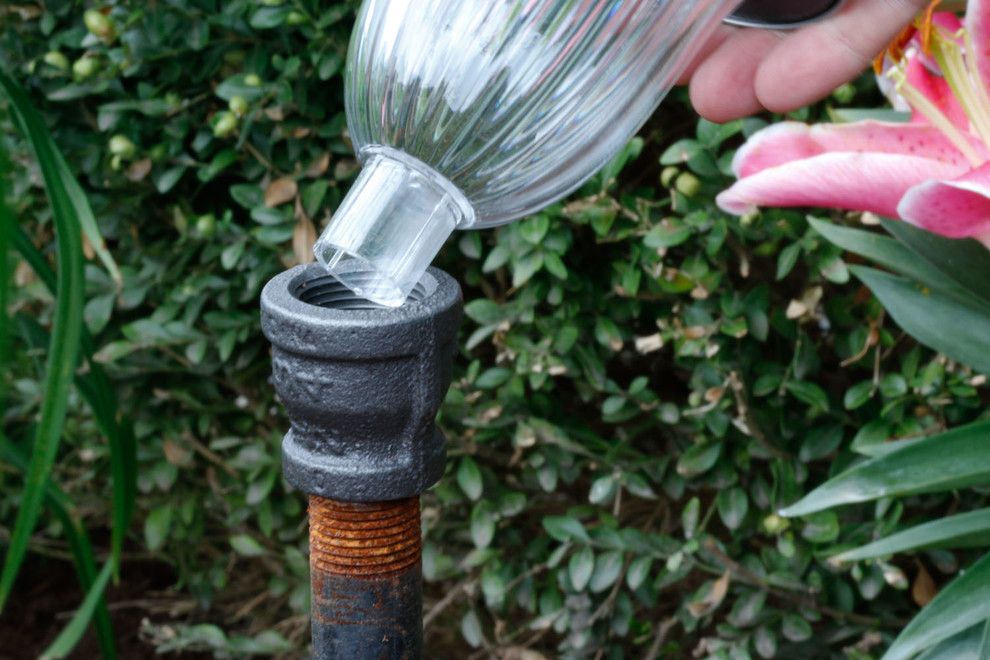
Attach the solar cell
The base of the solar cell should fit snugly on the tube, like here.
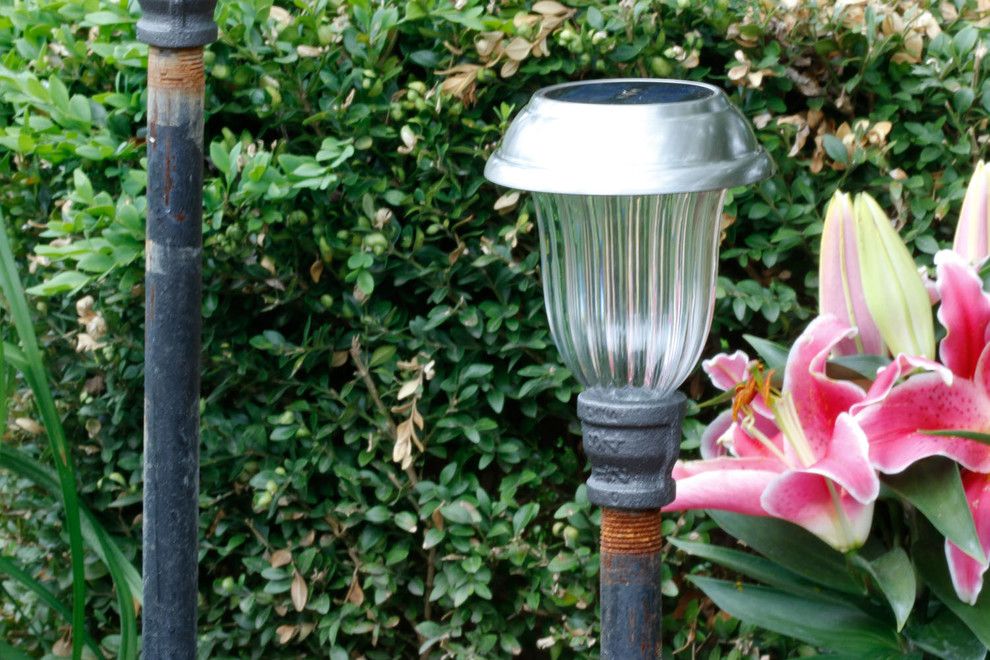
This is what the steel lamp with solar cell looks like
You can now leave the garden lights like this. But we believe that the rope ball will give your garden a better look.
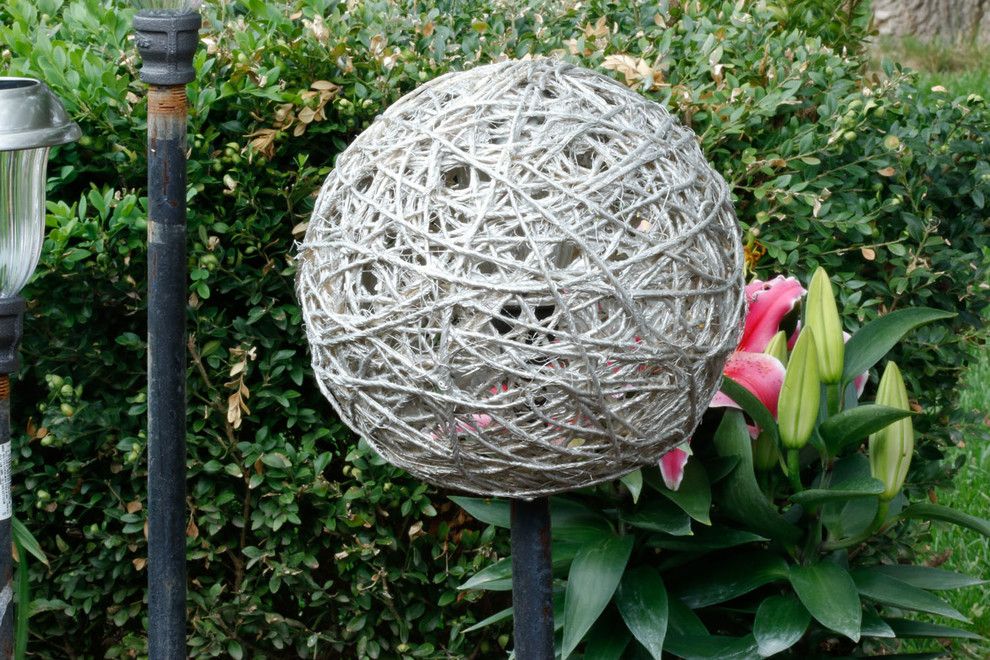
The DIY ball is placed on top
The spheres are now placed over the lighting fixtures. When switched on, the light shines through it.
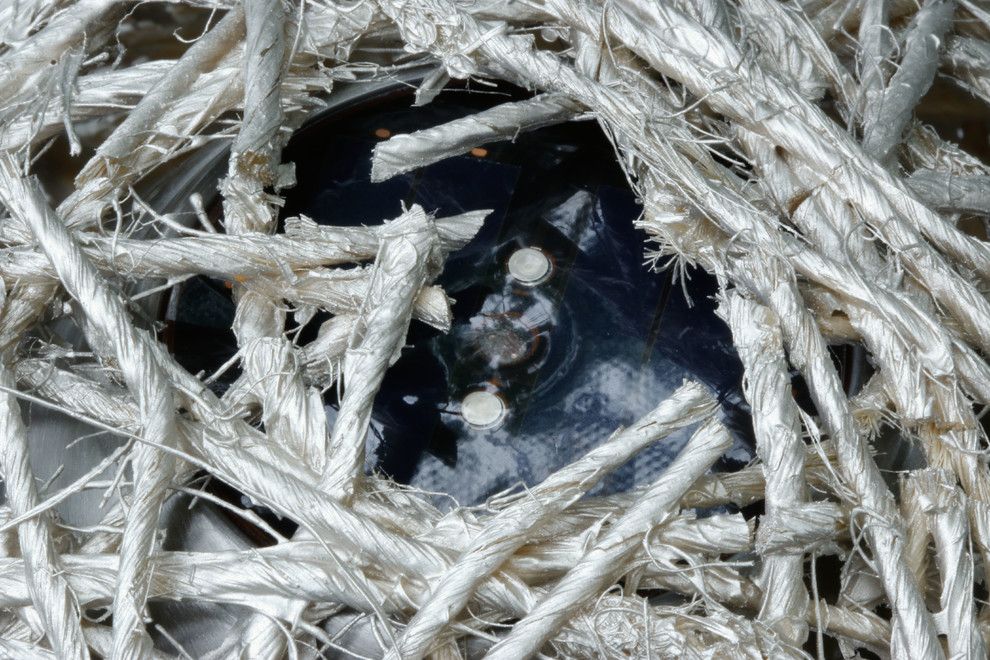
The opening allows the solar cell to be charged in sunlight
The opening of the sphere ensures that the solar cell is charged.
The pretty rope ball is a modern part of any garden design.
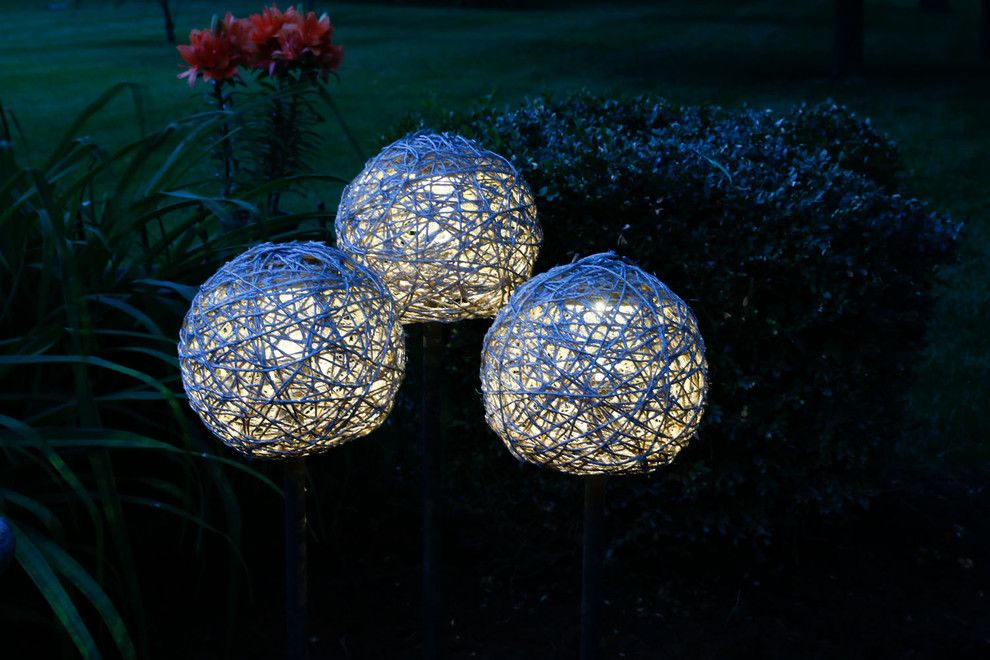
The beautiful end result with several cord lamps
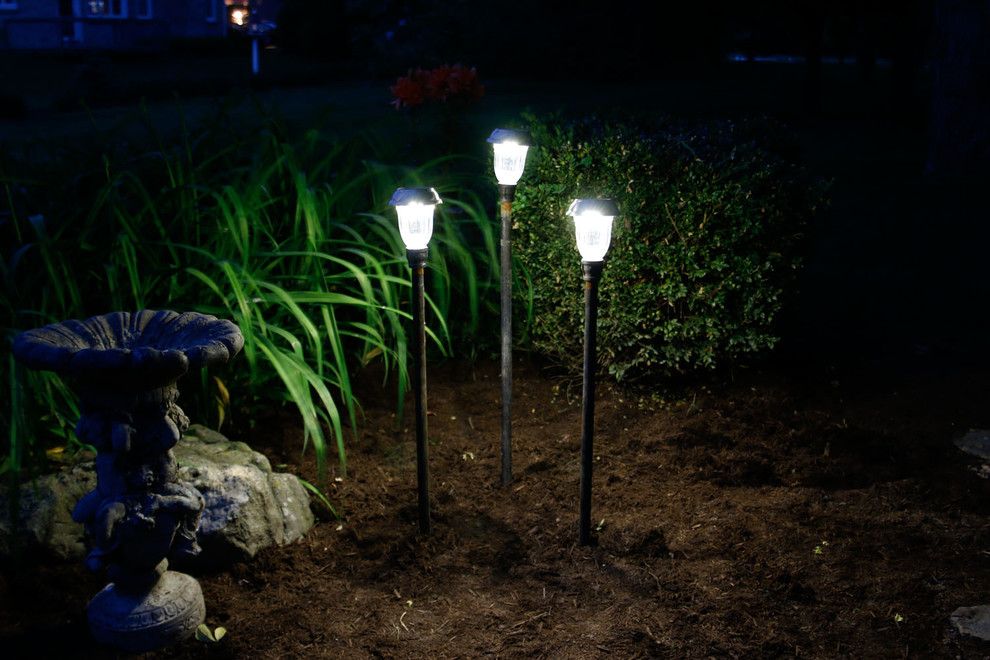
You can do without the rope lamps
Which variant do you like better – the solar lights or the DIY floor lamps?
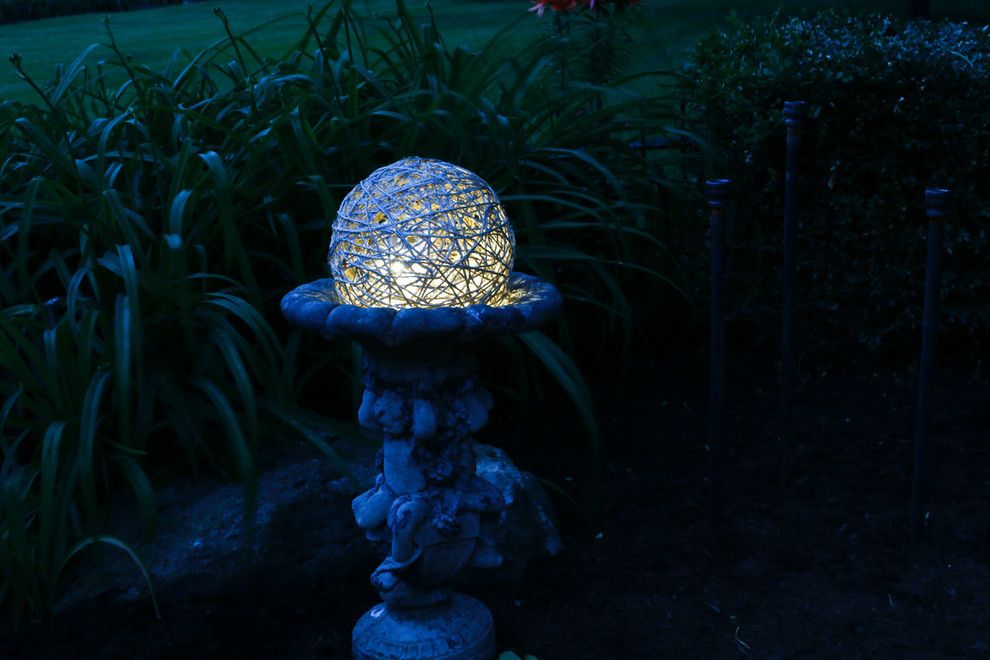
Both can of course be designed creatively. Nice design, don’t you think?
Try to follow these DIY instructions and design your own individual garden lamp!
The end result of these simple DIY instructions goes perfectly with any garden landscape, as the cord lamp has a timeless, classic shape.
Visit the rest of the site for more useful and informative articles!


